
* 제가 다시 작성한 최신 튜토리얼 수정본 입니다. 아래 주소를 통해서 진행하시는 것을 권장 드립니다. ^^
앵귤러 튜토리얼(Angular tutorial) - 1
안녕하세요. 앵귤러에 대해서 알아보기위해 이곳을 찾아주신 분 들께 감사의 말씀 드립니다.^^ 천천히, 초심자도 조금 더 쉽게 접근할 수 있도록 내용을 구성하여 보겠습니다. 어��
lts0606.tistory.com
저번시간에는 web에서 메모리를 활용하여 데이터베이스의 효과를 보기위한 작업을 하였다.
이번시간에는 서비스를 조금 더 깔끔하게 수정해 보도록 하자.
이전 시간에는 메인컴포넌트에서 직접적으로 http모듈을 호출하여 데이터베이스에 접속하는 행위를 하였다.
"데이터베이스에 접속하는 행위" 라는 것은 메인 컴포넌트, 헤더 컴포넌트, 바디컴포넌트 등 다른 어떠한 컴포넌트에서도 공통적으로 사용되는 행위가 될 수 있다.
그러므로 공통적으로 사용되는 기능은 이전에 만들어둔 서비스로 분리하여 사용하도록 바꾸어 보자.
불필요한 코드를 먼저 제거하자. 메인컴포넌트에서 불필요한 코드는 싹 제거한다.
import { Component } from '@angular/core';


@Component({
  selector: 'app-root',
  templateUrl: './app.component.html',
  styleUrls: ['./app.component.css']
})
export class AppComponent {
  title = 'dashboard';

  constructor(){

  }

  private showType : any;

  getEventFromHead (event){
    this.showType = event;
  }
}
그러고보니 a일 경우에는 사용자, b일 경우에는 게시판이 나오도록 값을 정하였었다. (헤더에서 클릭할 때)
마찬가지로 해당 데이터도 공통으로 사용되니 아에 분리를 시켜보자.
기존에 모듈에서 사용했던 ShareData의 내용을 수정하자.
import { BrowserModule } from '@angular/platform-browser';
import { NgModule } from '@angular/core';

import { AppComponent } from './app.component';
import { HeadComponent } from './head/head.component';
import { BodyComponent } from './body/body.component';

import { ShareService } from './share.service';  //해당 서비스 임포트

import { HttpClientModule } from '@angular/common/http';  //http

import {WebDbService} from './web-db.service';  //웹DB
import {InMemoryWebApiModule} from 'angular-in-memory-web-api';  //DB구현 모듈


const ShareData = [
  {type :'A', url : '/test/user'},  //type이 A이면 사용자 값url
  {type :'B', url : '/test/dash'}  //type이 B이면 게시판 값 url
];

@NgModule({
  declarations: [
    AppComponent,
    HeadComponent,
    BodyComponent
  ],
  imports: [
    BrowserModule,
    InMemoryWebApiModule.forRoot(WebDbService,{delay:500,put204:false}),  //DB구현 모듈 추가
    HttpClientModule  //HTTP 연결
  ],
  providers: [{provide: 'alias',useValue:ShareData}, ShareService],
  bootstrap: [AppComponent]
})
export class AppModule { }
type이 A이면 사용자, B이면 게시글이 나오도록 하기 위해서 ShareData 상수의 내용을 배열형태로 바꾸었다.
web-db 역할을 하는 서비스에 기본적으로 글이 나오도록 아래처럼 수정하여 주자.
import { Injectable } from '@angular/core';
import {InMemoryDbService} from 'angular-in-memory-web-api';

@Injectable({
  providedIn: 'root'
})
export class WebDbService implements InMemoryDbService{
  private _database : any; //데이터베이스
  constructor() {
  }

  createDb(){  //상속받아 구현
    this._database = {};
    this._database['user'] = [  //기본 데이터1
      {name:'관리자',date:'2019-01-20',id:'root'},
      {name:'고급사용자',date:'2019-06-18',id:'admin'},
      {name:'일반사용자',date:'2019-05-04',id:'user'}
    ];
    this._database['dash'] = [//기본 데이터2
      {title:'title - 1', desc : 'description', date:'2019-05-11'},
      {title:'title - 2', desc : 'description', date:'2019-06-20'},
    ];
    return this._database;
  }

}
http 요청을 수행해야될 서비스를 이제 수정해볼 차레이다.
간단하게 가져오는 메소드, 등록하는 메소드를 만들어보자.
주소와 파라미터를 받는 메소드를 share.service에 추가한다.
import { Injectable } from '@angular/core';
import { HttpClient, HttpParams } from '@angular/common/http';

@Injectable({
  providedIn: 'root'
})
export class ShareService {

  public shareValue : number = 1004;  //변수
  private HTTP : HttpClient;

  constructor(http : HttpClient) {
    this.HTTP = http;
  }


  getData(url, param){  //가져오는 함수
    this.HTTP.get(url, param).subscribe((res)=>{
      console.log(res);
    });
  }

  setData(url, param){  //등록하는 함수
    this.HTTP.put(url, param).subscribe((res)=>{
      console.log(res);
    });
  }

}
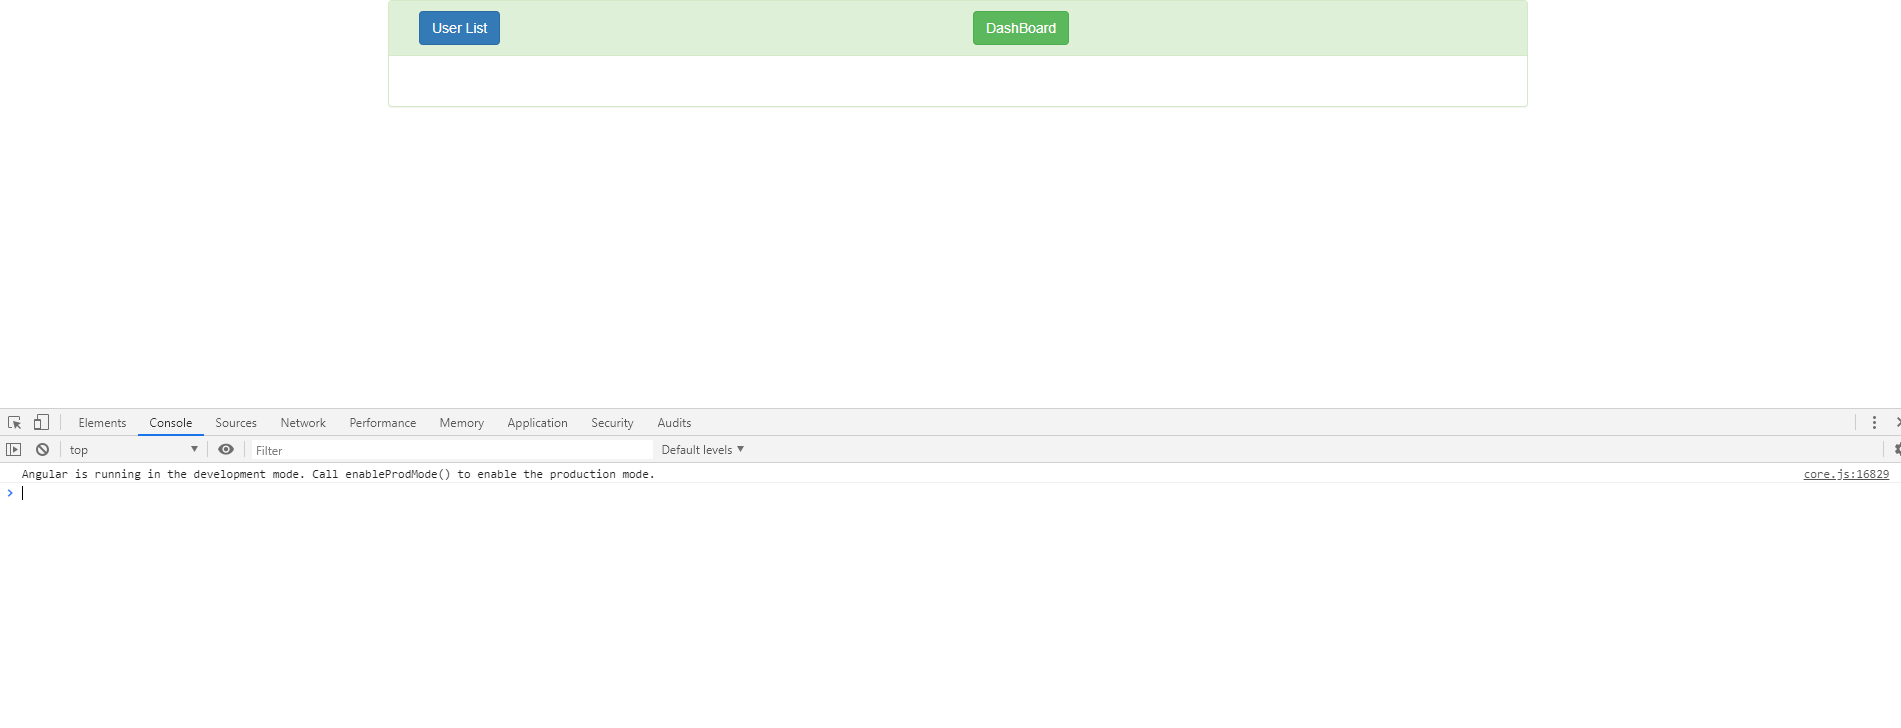
일단 콘솔로 찍게만 하였다.
그리고 이벤트를 받는 바디컴포넌트를 최종적으로 수정하자.
import { Component, OnInit, Inject } from '@angular/core';
import { Input } from '@angular/core';
import { ShareService } from '../share.service';

@Component({
  selector: 'app-body',
  templateUrl: './body.component.html',
  styleUrls: ['./body.component.css']
})
export class BodyComponent implements OnInit {

  private code : any;
  private service : ShareService;

  constructor(@Inject('alias') alias, serve : ShareService ) {   //생성자로 받기
    this.code = alias;  //모듈에서 넘어온 배열값
    this.service = serve;
  }

  @Input() set getShowType(arg : any){  //set 문법
    this.code.forEach( item => { //반복문
      if(item.type == arg){  //type값이 같다면..
        this.service.getData(item.url , {});
      }
    });
  }

  ngOnInit() {

  }


}
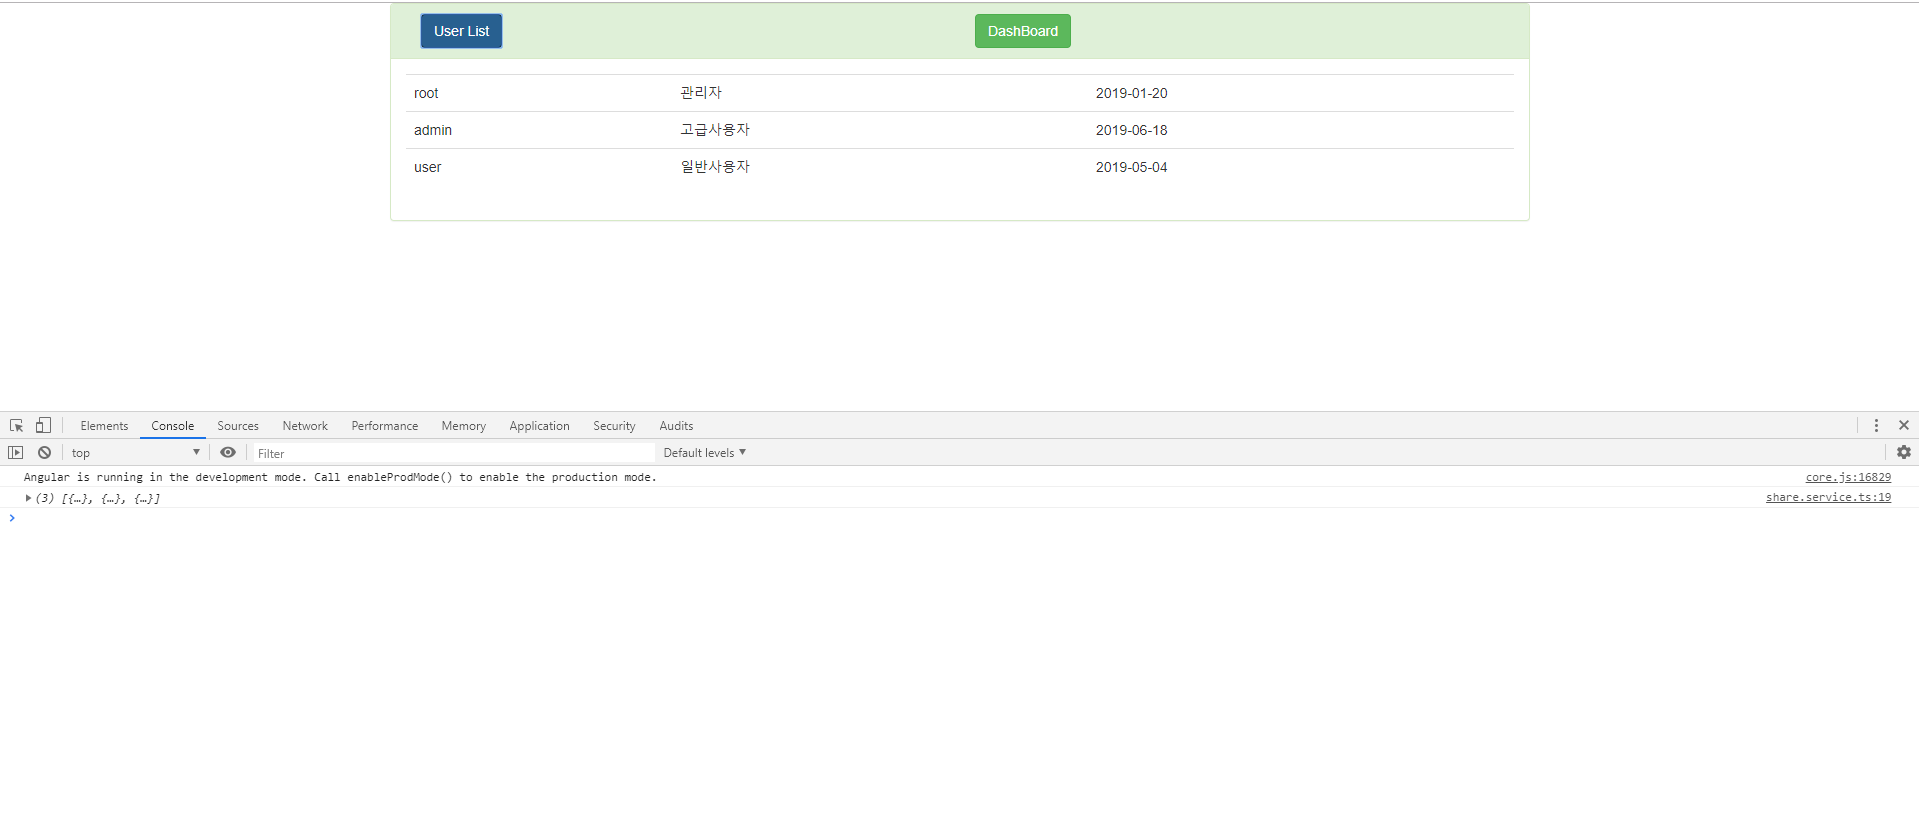
버튼을 클릭할 때마다 콘솔로 데이터가 잘 나옴을 확인 할 수 있다.
그렇다면 데이터를 화면에 표출을 하고싶은데..subscribe에서 데이터를 어떻게 가져와서 표현해야 될까..?
share.service를 아래처럼 바꾸어보자.
import { Injectable } from '@angular/core';
import { HttpClient, HttpParams } from '@angular/common/http';

@Injectable({
  providedIn: 'root'
})
export class ShareService {

  public shareValue : number = 1004;  //변수
  private HTTP : HttpClient;

  constructor(http : HttpClient) {
    this.HTTP = http;
  }


  getData(url, param, callback){  //가져오는 함수
    this.HTTP.get(url, param).subscribe((res)=>{
      console.log(res);
      callback(res);
    });
  }

  setData(url, param, callback){  //등록하는 함수
    this.HTTP.put(url, param).subscribe((res)=>{
      console.log(res);
      callback(res);
    });
  }

}
callback이라는 람다가 생겼다. callback은 자바스크립트로 비교하자면 함수형태 function(){}값을 넣어준 것과 동일한 행위이다.
자바스크립트로 표현하면 아래와 같은 내용 이다.
function abcd(aaa, todo){  //todo는 함수abcd가 실행할 행위 이다.
    var number = 10;
    aaa = aaa+ 10;
    todo(aaa);
}
abcd(10, function(result){  //콜백 행위
  console.log(result);
});
콜백행위, 즉 url을 호출한 행위가 정의 되었으니 이제 바디컴포넌트를 다시 수정하자.
import { Component, OnInit, Inject } from '@angular/core';
import { Input } from '@angular/core';
import { ShareService } from '../share.service';

@Component({
  selector: 'app-body',
  templateUrl: './body.component.html',
  styleUrls: ['./body.component.css']
})
export class BodyComponent implements OnInit {

  private code : any;
  private service : ShareService;


  constructor(@Inject('alias') alias, serve : ShareService ) {   //생성자로 받기
    this.code = alias;  //모듈에서 넘어온 배열값
    this.service = serve;
  }

  private list : any;  //user 데이터를 그려줄 리스트
  private list2 : any;  //dash 데이터를 그려줄 리스트

  @Input() set getShowType(arg : any){  //set 문법
    this.code.forEach( (item, index) => { //반복문, index 0은 A값, 1은 B값이다.
      if(item.type == arg){  //type값이 같다면..

        this.service.getData(item.url , {}, (result)=>{  //람다를 추가하여 데이터를 받자.
          if(index == 0){  //A값이면
            this.list = result;
            this.list2 = null;
          } else {  //B값이면
            this.list = null;
            this.list2 = result;
          }
        });
      }
    });
  }


  ngOnInit() {

  }


}
데이터를 표현하기위해 list와 list2라는 변수를 선언하였다.
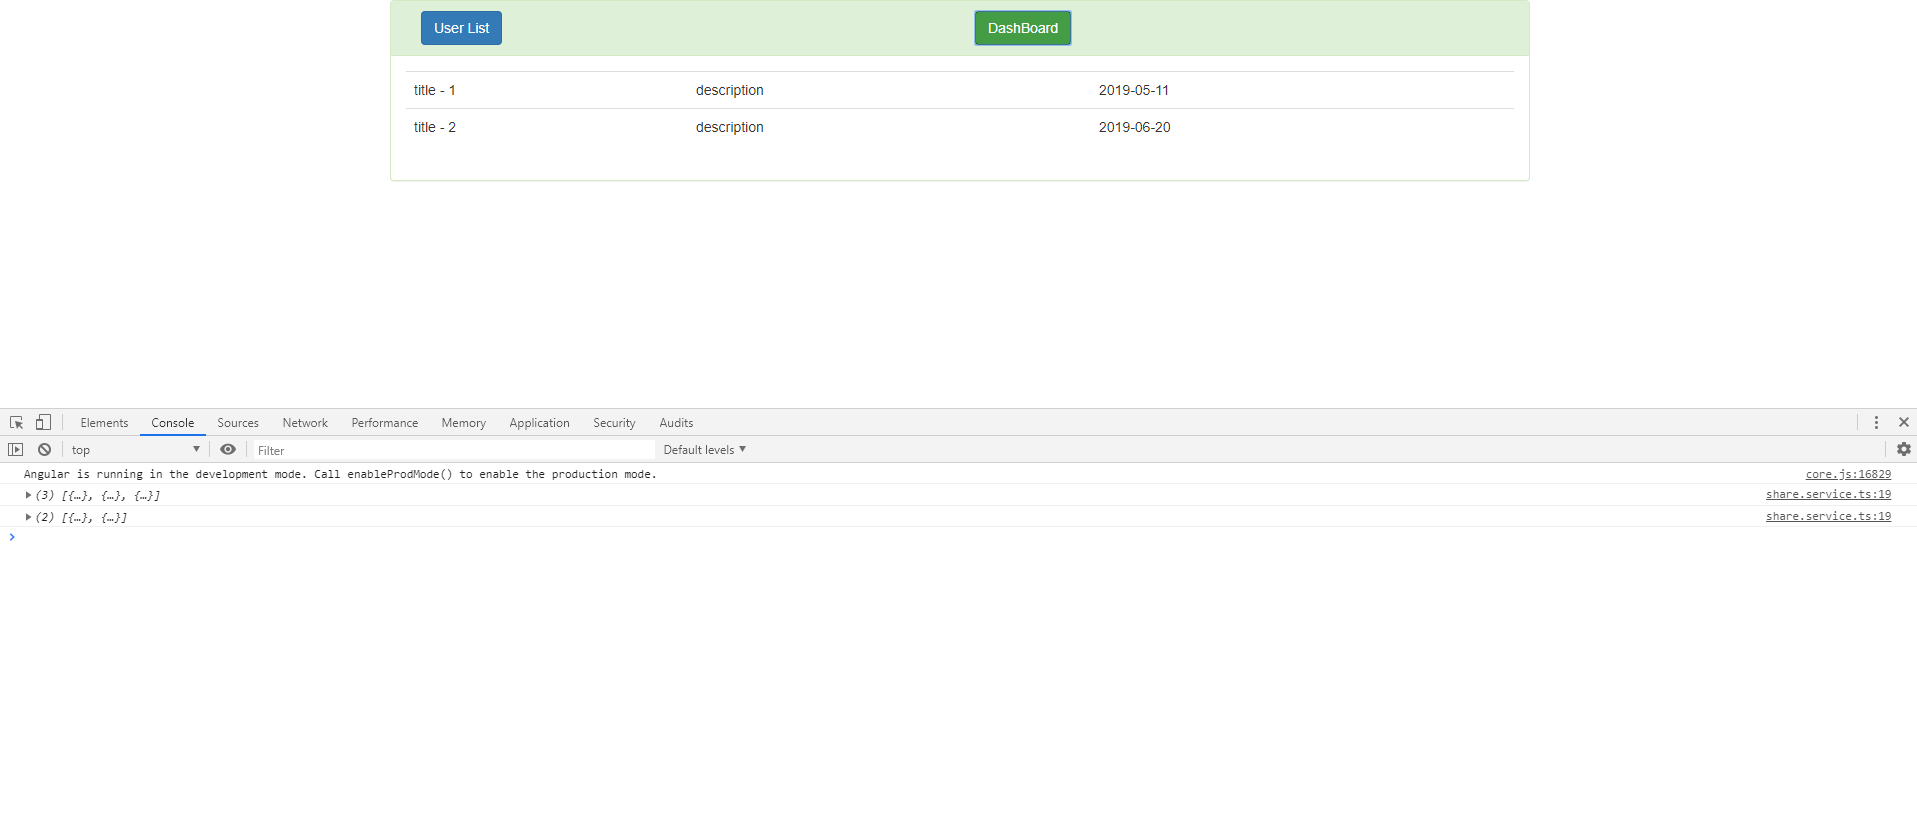
바디컴포넌트의 html파일을 앞선시간에 살펴본 ngFor를 통해서 출력하면 제법 그럴싸하게 데이터가 나온다.
바디컴포넌트의 html파일을 수정하자.
<table class='table'>
  <tr *ngFor="let item of list">
    <td>{{item.id}}</td>
    <td>{{item.name}}</td>
    <td>{{item.date}}</td>
  </tr>
  <tr *ngFor="let item of list2">
    <td>{{item.title}}</td>
    <td>{{item.desc}}</td>
    <td>{{item.date}}</td>
  </tr>
</table>
상단 헤더의 버튼을 누르면 데이터가 원하는데로 잘 표출됨을 알 수 있다.
여기까지 잘 따라왔다면 앵귤러의 기초중의 기초는 거의 다 한것으로 볼 수 있다.
1. 컴포넌트의 의미와 관계
2. 모듈의 의미와 관계
3. 서비스의 의미와 관계(공통으로 사용되는)
이제 남은 기능은 헤더컴포넌트에서 아직 공통으로 사용되는 변수인 ShareData를 활용하여 헤더의 html을 동적으로 바꾸는 행위 1개와, share서비스에 있는 setData를 사용하는것 1개가 남았다.
해당 2가지의 기능은 이제 직접 복습 또는 구글링을 통해서 구현해보도록 하자.
다음시간에는 subscribe라는 함수의 의미와 역할, 기능이 무엇인지 알아보도록하자.
'앵귤러, 리엑트, 뷰 > Angular Tutorial(old)' 카테고리의 다른 글
| 앵귤러 튜토리얼 (Angular tutorial) -16 (0) | 2019.06.28 |
|---|---|
| 앵귤러 튜토리얼 (Angular tutorial) -15 (0) | 2019.06.25 |
| 앵귤러 튜토리얼 (Angular tutorial) -13 (0) | 2019.06.18 |
| 앵귤러 튜토리얼 (Angular tutorial) - 12 (6) | 2019.06.13 |
| 앵귤러 튜토리얼 (Angular tutorial) -11 (0) | 2019.06.12 |


댓글